- Get link
- X
- Other Apps
Earlier this week, we launched two new features for the Kit Creator - ‘Custom collar mapping’ and ‘Material effect layers’.
In this post, we want to give you more details about these two new additions as well as instructions on how to use them.

First up, we unlocked ‘custom collar mapping’ for all users after it had been in early access for a while. With this feature, you can create more unique collar designs that adapt to the shape of the collar much better than before. This can be used to add a realistic pattern or base design to the collar, or to add trim / piping, for example.
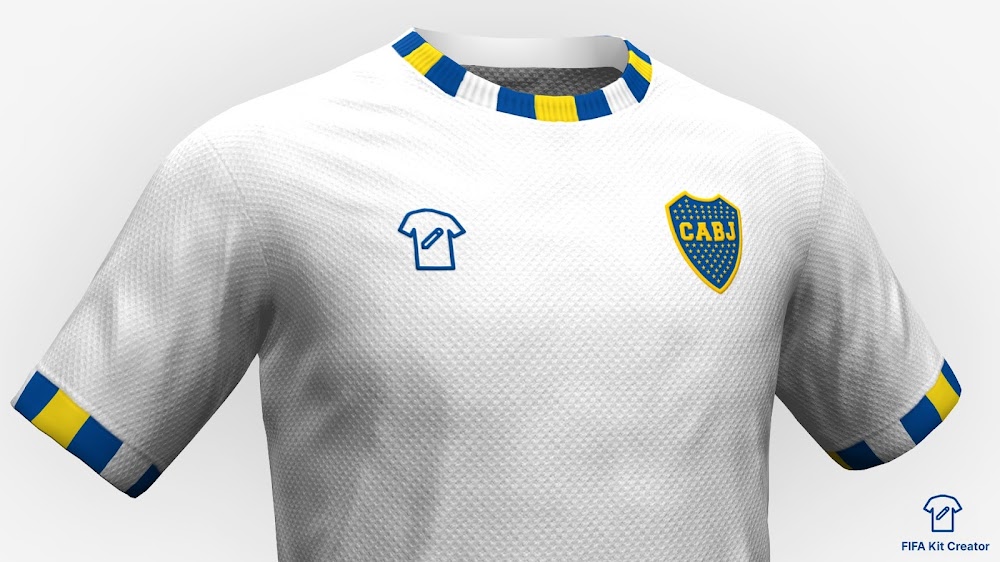
At the moment, two modes are available: one for crew-neck collars (collar #0) and one for v-collars (#7). But more could be added at a later time.

To use the feature, you first have to add the collar as a mask to the layer you want to apply it to. Then, in the layer settings, switch on the ‘custom collar mapping’ toggle and finally you can choose between the two aforementioned modes.
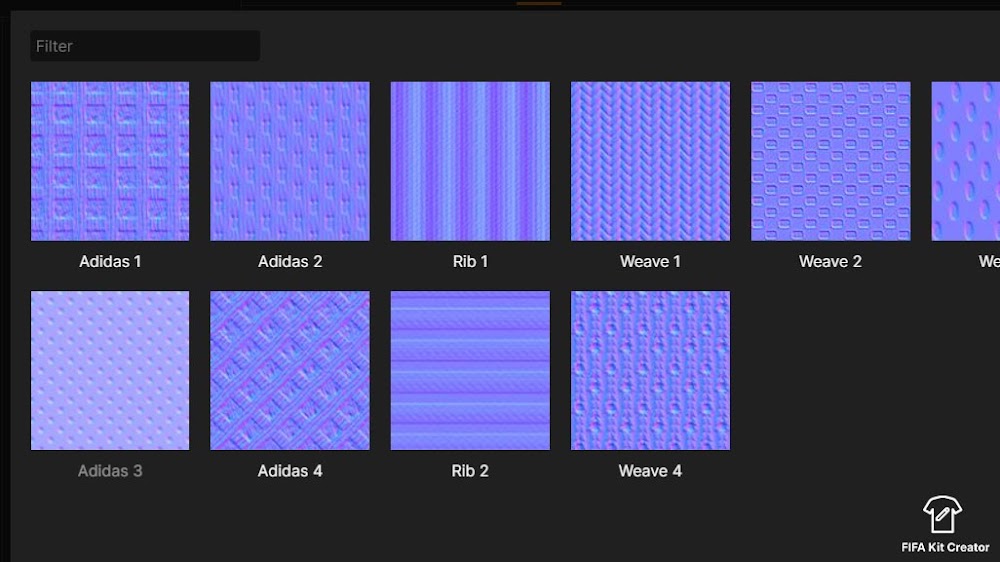
In addition to that, we also released the new ‘material effect’ feature, which for now will remain exclusive to Plus Premium and Ultimate users. With it, you can easily add a realistic fabric effect to different parts of the shirt, including unique styles inspired by Adidas and Nike kits.
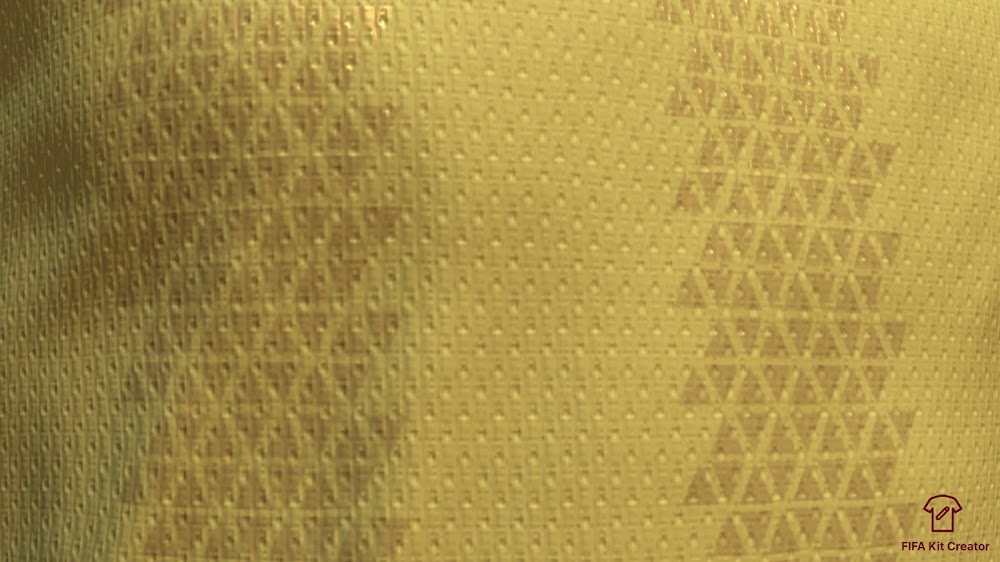
The material effects work as regular layers and can be applied using the same methods as other layers, including using masks. It’s even possible to use different materials for different parts of a kit.
To add a material effect layer, simply click the button of the name under ‘Add layer’.
Follow us on Facebook, Instagram and Twitter for the latest updates and inspiration.
In this post, we want to give you more details about these two new additions as well as instructions on how to use them.
Custom Collar Mapping

First up, we unlocked ‘custom collar mapping’ for all users after it had been in early access for a while. With this feature, you can create more unique collar designs that adapt to the shape of the collar much better than before. This can be used to add a realistic pattern or base design to the collar, or to add trim / piping, for example.

At the moment, two modes are available: one for crew-neck collars (collar #0) and one for v-collars (#7). But more could be added at a later time.

To use the feature, you first have to add the collar as a mask to the layer you want to apply it to. Then, in the layer settings, switch on the ‘custom collar mapping’ toggle and finally you can choose between the two aforementioned modes.
Material effects

In addition to that, we also released the new ‘material effect’ feature, which for now will remain exclusive to Plus Premium and Ultimate users. With it, you can easily add a realistic fabric effect to different parts of the shirt, including unique styles inspired by Adidas and Nike kits.

The material effects work as regular layers and can be applied using the same methods as other layers, including using masks. It’s even possible to use different materials for different parts of a kit.
To add a material effect layer, simply click the button of the name under ‘Add layer’.
Follow us on Facebook, Instagram and Twitter for the latest updates and inspiration.